|
|
Post by Gromit on Sept 14, 2011 22:46:49 GMT
A build commissioned by Airfix for the 2009 Road Show season.
|
|
|
|
Post by Gromit on Sept 19, 2011 18:19:50 GMT
If you've ever watched a cartoon and wondered how some of the effects were created? ... well, that's how I treated this build. Let's start at the beginning ... I had been reading one of the 'Wallace & Gromit' annuals, purely for reference you understand, anyway I began chuckling at one of the stories in this particular edition and thought that one of the vehicles in it would make an ideal subject for a project ... 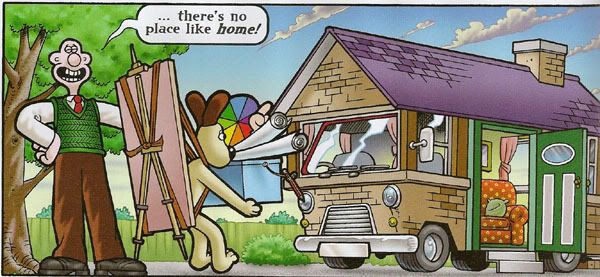 ... the mobile home! |
|
|
|
Post by Gromit on Sept 19, 2011 18:32:13 GMT
|
|
|
|
Post by Gromit on Sept 19, 2011 18:52:33 GMT
I cleaned up the cuts and added a bit of filler to get rid of the majority of the moulded in rust ... 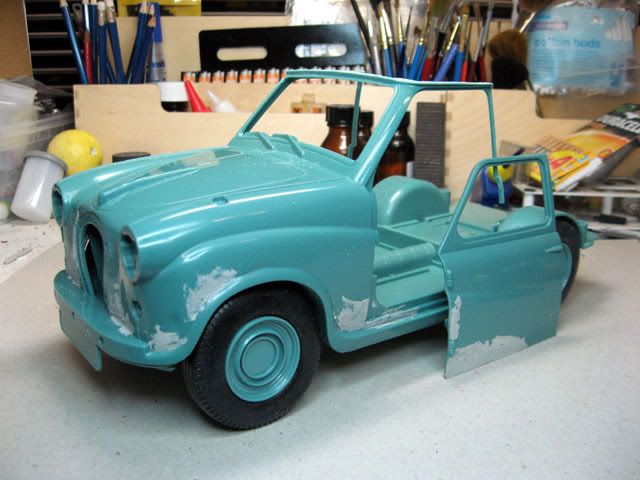 ... the chassis was built as per the instruction sheet and the wheels and tyres have been placed on just to get an idea of the ride height. |
|
|
|
Post by Gromit on Sept 19, 2011 19:04:43 GMT
Before I went any further with this build, I wanted to check on the dimensions of the home and sleeping pod areas. It was about this point that I had to make a decision, follow the artwork or do my own thing, I eventually decided to do my own thing ... 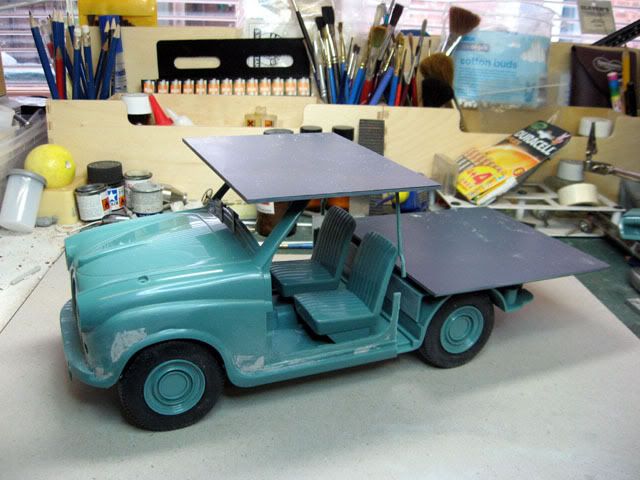 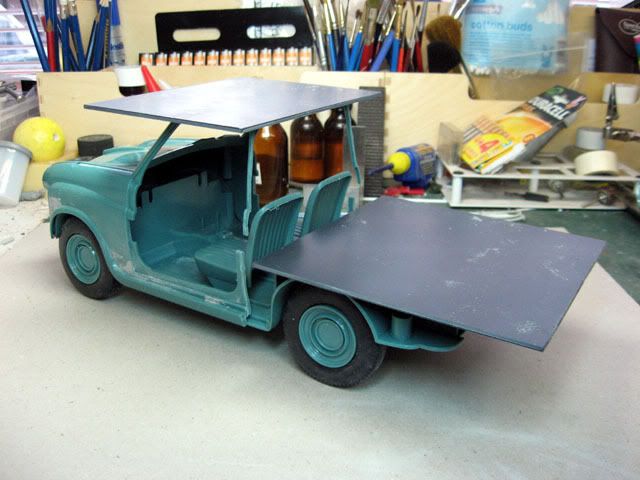 ... as you can see, the living area is a little small but it should be a reasonable size compared to the length of the van, and the sleeping pod should be big enough. Unfortunately at this point I ran out of plastic stock and ended up on a shopping trip to my favourite emporium, but there was plenty to be getting on with, especially sanding ... |
|
|
|
Post by Gromit on Sept 19, 2011 19:12:35 GMT
I decided to add a thin fillet of plastic card into the roof of the cab to minimise distortion whilst sanding ... 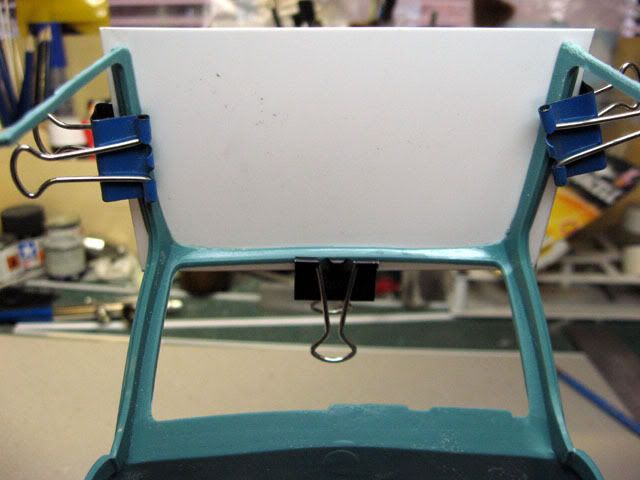 ... it'll also act as a good attachment base for the sleeping pod. I allowed the glue to set and then shaved and filed the fillet to shape ... 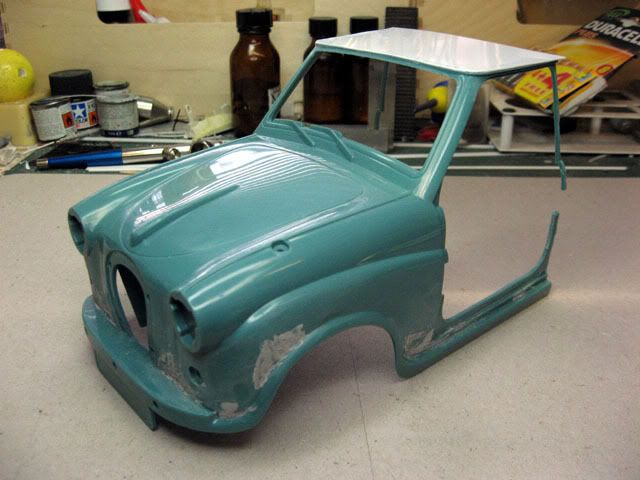 ... then set about what seems like endless sanding in order to remove the moulded in rust ... 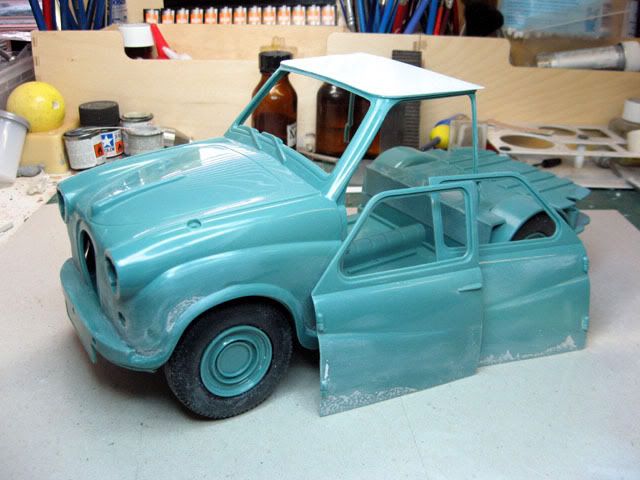 ... but then I had a quick light bulb moment, there's still a bit of the rust detail on the panels, so, in order to relieve the hours of sanding, I'm going to work on the rust a little ... talk about doing things backwards ... |
|
|
|
Post by Gromit on Sept 19, 2011 20:09:21 GMT
I've had to glue the doors in place in order to give the front of the model a bit of rigidity, I made a mistake when first cutting the rear of the cab off, I didn't leave enough of the kit body behind the doors to attach the new rear house module. Never mind, gluing the doors in place has made the construction all that much easier ... 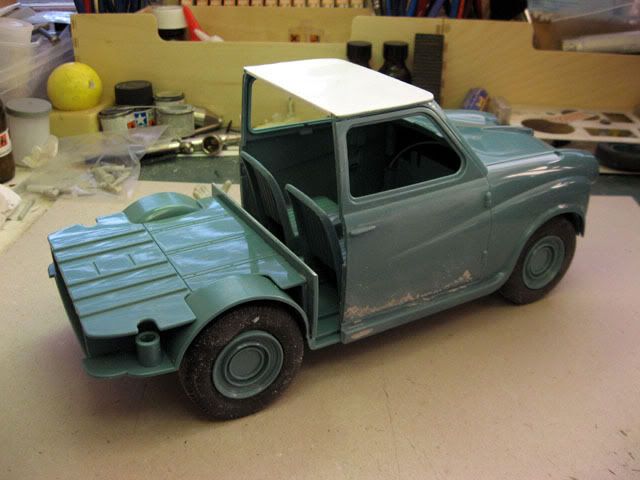 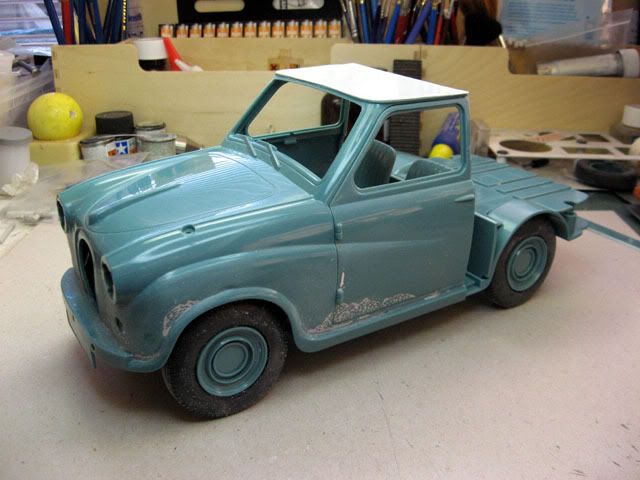 ... as this was for the Airfix Road Show, I was very tempted to change the build into a communications centre or mobile disco unit which would still fall into the 'Roadshow' theme. It would still have been an interesting and fun build and a way to introduce a few flashing lights into the project, I could have made Gromit a DJ complete with earphones, I wonder what Wallace would look like as 'Dave Doubledex'? ... that little devil in me was saying "do it" ... oooh eck ... |
|
|
|
Post by Gromit on Sept 19, 2011 20:17:13 GMT
I usually have a snooze after Sunday lunch (no comments you lot) but instead I decided to do a spot of work on this and attempt to cure the problem of the rear fillet, and here it is ... 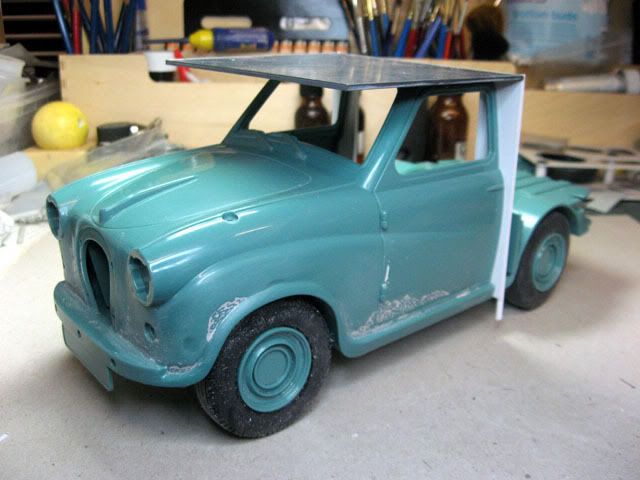 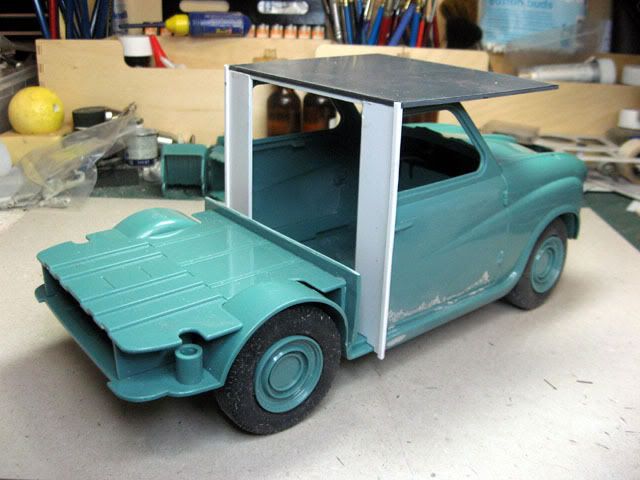 ... I also glued in place the base for the sleeping compartment above the van roof and test fitted the rear floor ... 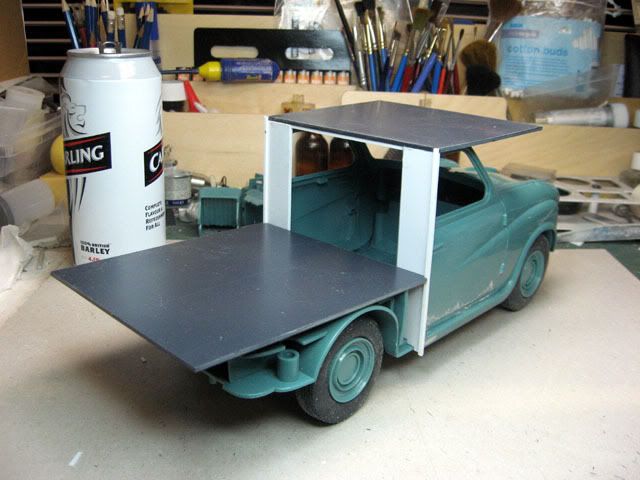 ... with the test pieces fitted I had to do a quick design of the van sides. |
|
|
|
Post by Gromit on Sept 19, 2011 20:25:39 GMT
I used spare bits of plastic card to make fillets to support the floor as I don't want it flexing. I also had to work out a way to build the main body of the camper without attaching the floor to the chassis, and to make it strong enough to handle without disintegrating. Shown below is a quick test fit of one of the sides ... 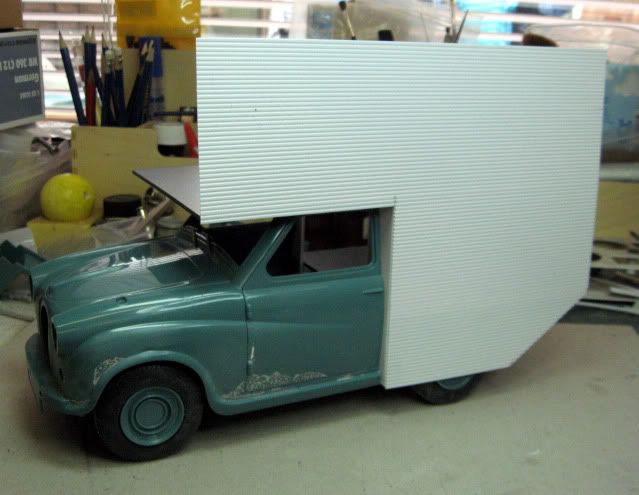 ... I used one of three sheets of plastic railroad cladding which were donated by Pat at Huddersfield, (cheers matey), it looks good but it's very thin and I may have to bond it with a plain sheet of 'Plasticard' simply to give it strength, keeping in mind that I still had to cut out the windows. |
|
|
|
Post by Gromit on Sept 20, 2011 18:43:43 GMT
Once there was one side attached, the second side was simply a copy of the first, the sides, cab and rear compartment are now one unit, but I could still remove it from the chassis. I stiffened the interior side walls, but before I could get into my stride I unfortunately ran out of square rod before I could complete the main box construction, that's the problem with building on the fly, you just never know what you're going to need ... and when! ... 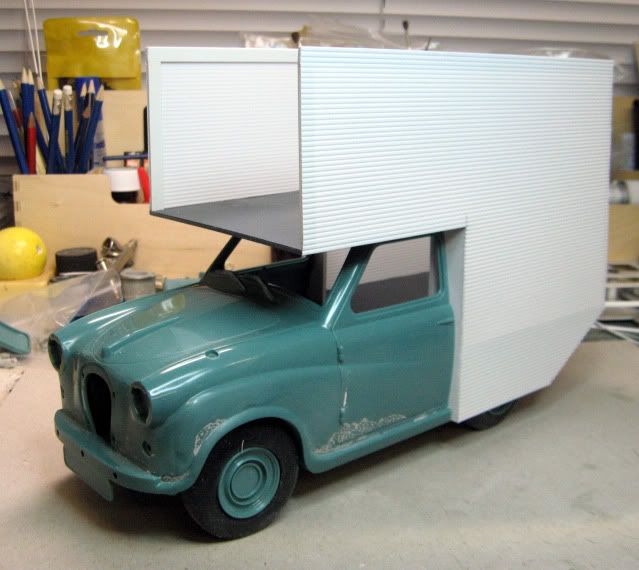 I had thought about cutting out the wheel arches but decided not to. I love this stage of a build when you can actually see the model coming together. |
|
|
|
Post by Gromit on Sept 20, 2011 18:53:02 GMT
Restocked with plastic and back in the workshop. I added a bit more strengthening to the walls with square rod and added the front to the above cab sleeper compartment, and to my amazement, it all lined up ... 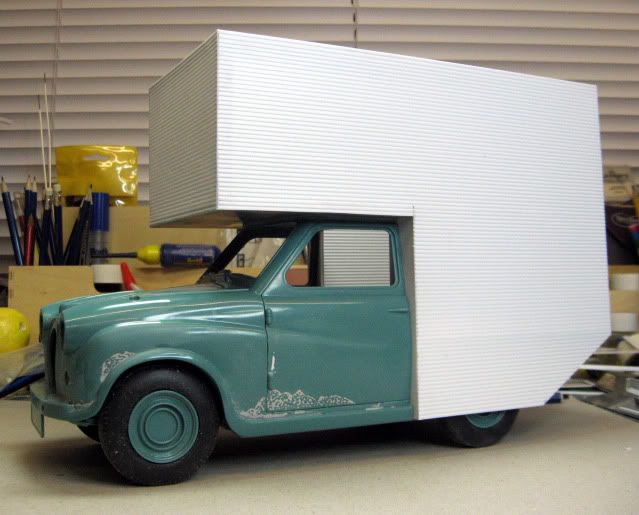 I looked at the artwork which gave me the idea for this build, and there's a side opening from the main body which is supposed to be an automatic extent ion for the living quarters. There were voices, lots of voices telling me to cut into the body and install this extension ... 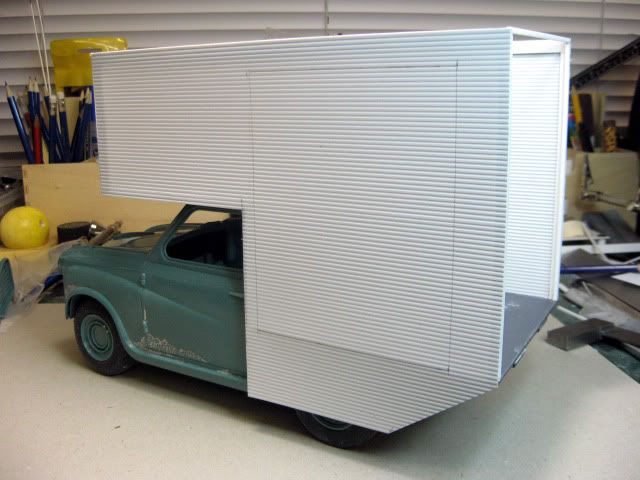 ... hopefully from this shot you can see where I marked in pencil where the opening should be, which would turn the RV into the 'Camp-o-Matic'. |
|
|
|
Post by Gromit on Sept 20, 2011 19:02:34 GMT
I wanted to get over a couple of hurdles so I loaded a new blade into the scalpel and cut out the aperture for the 'Camp-o-Matic' side extension and also the hole for the rear door ... 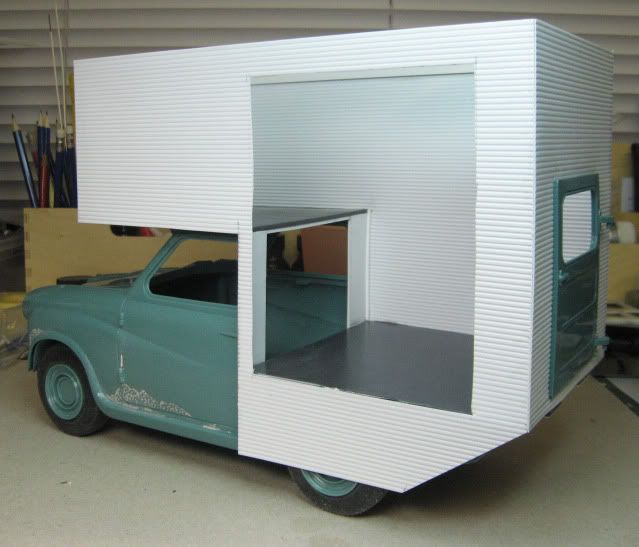 ... it seemed a shame to just chuck out parts of the kit for the sake of it, so I used the rear door from the van, I scratch built a couple of new hinges for the rear door but due to time constraints with the build, I simply glued it in place ... 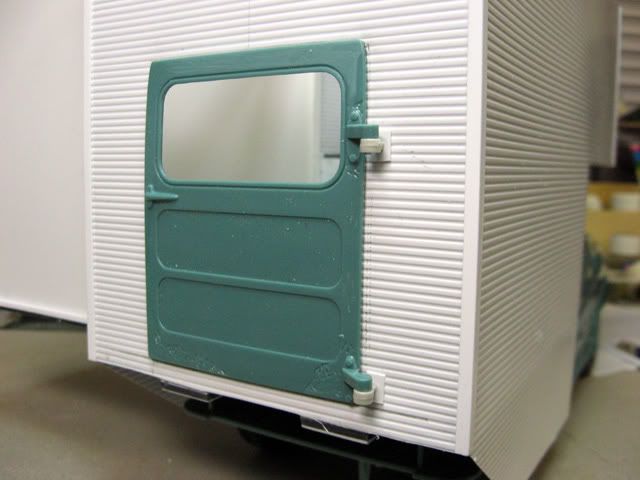 The task was now to build the extension, it was never going to operate, just static and displayed extended. |
|
|
|
Post by Gromit on Sept 21, 2011 19:31:22 GMT
The 'Beyond the Box' SIG attended a model railway show and I had the time to sit down and work on the build. Here's what I managed ... 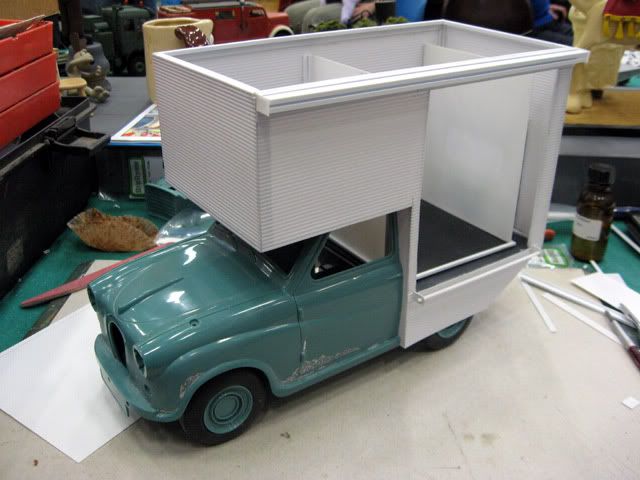 ... the opening in the n/s to accommodate the extending room has been sorted. I had a couple of problems building the extension and had to scrap the first build, the replacement fits better and is just about complete ... 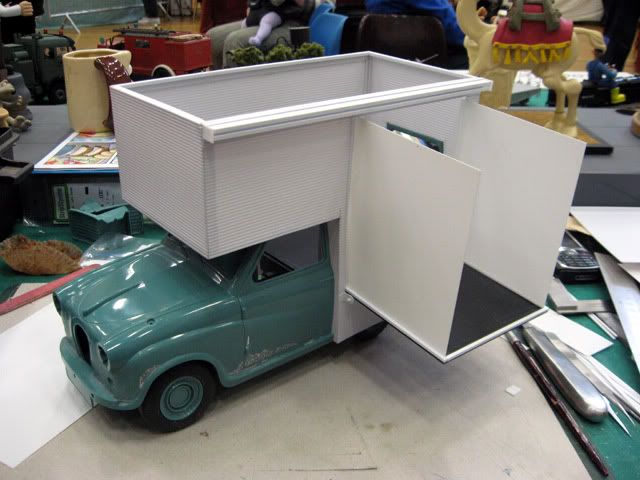 ... all it needs now is a decision on what type of window I'm going to build and how I'll add the roof. I've also added a full length canopy holder to the n/s, the canopy will be built extended ... 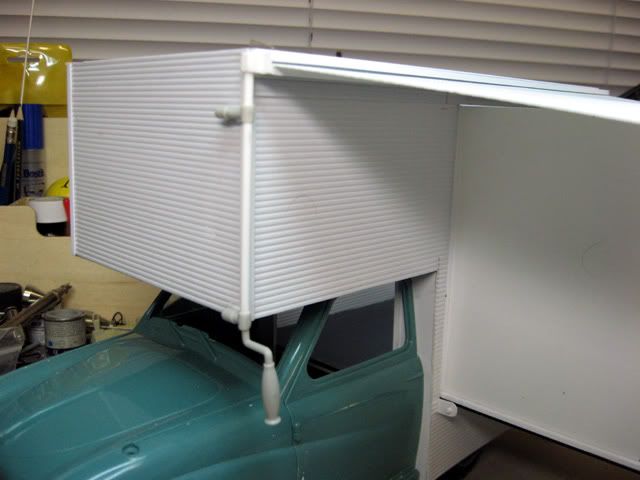 ... I also added a manual winder for the canopy. |
|
|
|
Post by Gromit on Sept 21, 2011 19:40:17 GMT
I was going to cut out the flat roof but I kept thinking about the tiled roof in the original artwork, so I decided to be silly and build a pitched, slate roof, here's the first stage, the two side walls and the main roof joist. 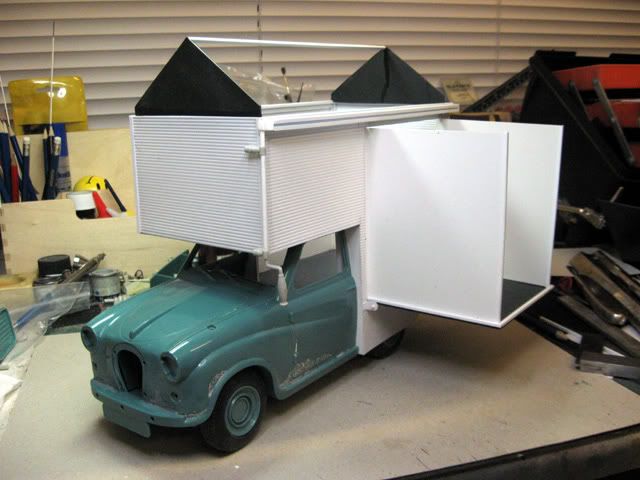 ... and the next stage ... 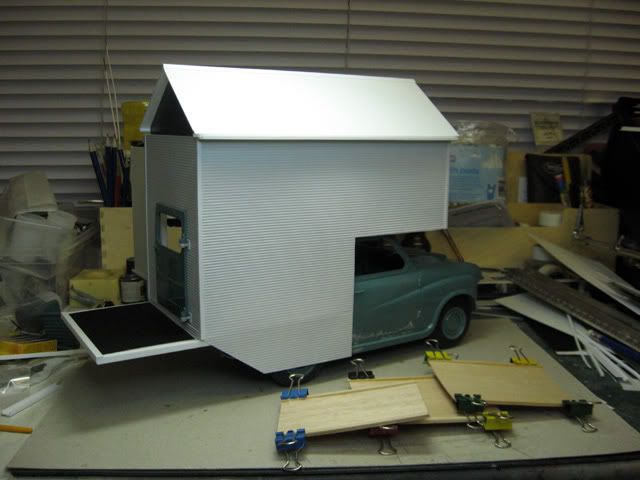 ... obviously I needed a rear step for Gromit's kennel, well, you didn't think Gromit was staying inside? ... did you? |
|
|
|
Post by Gromit on Sept 21, 2011 19:45:03 GMT
Building on the fly and enjoying it so much that you keep adding bits and pieces as you think about it, doesn't actually do you any favours because the build just keep going, it's never ending, so a stop has to be placed at some point. Mrs Gromit made a suggestion about the build, what are you lot like? She suggested that I change the build slightly to an Eco friendly roof top rather than a pitched tiled roof. Hmmmmmmm? ... grass, flowers, deck chairs, ice cold lemonade on a warm summers day? ... you know what, I seriously though about the idea ... 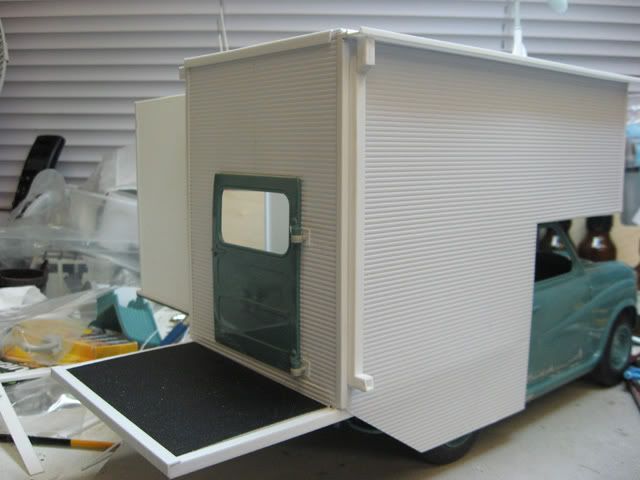 |
|