|
|
Post by ptcruiser on May 2, 2012 21:11:13 GMT
Has commenced ;D
No mods to the bodywork, but hopefully a bit of a weathering practise/exercise.
Basic build all but done, but you've seen that before. Pics as the process develops...
Rich
|
|
|
|
Post by Gromit on May 3, 2012 19:10:18 GMT
You little tease!  ;D |
|
|
|
Post by ptcruiser on May 27, 2012 20:11:12 GMT
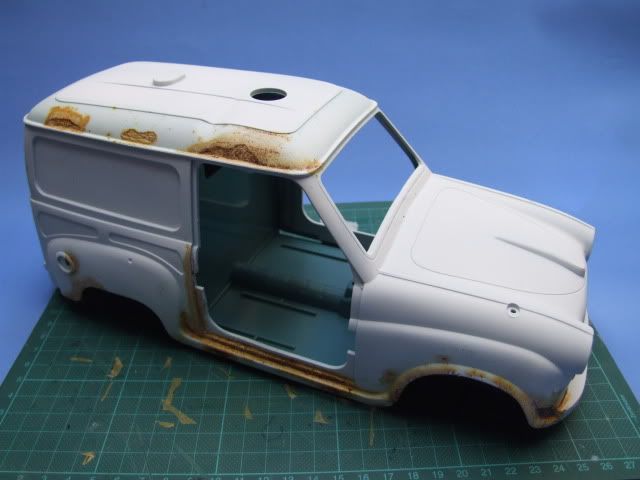
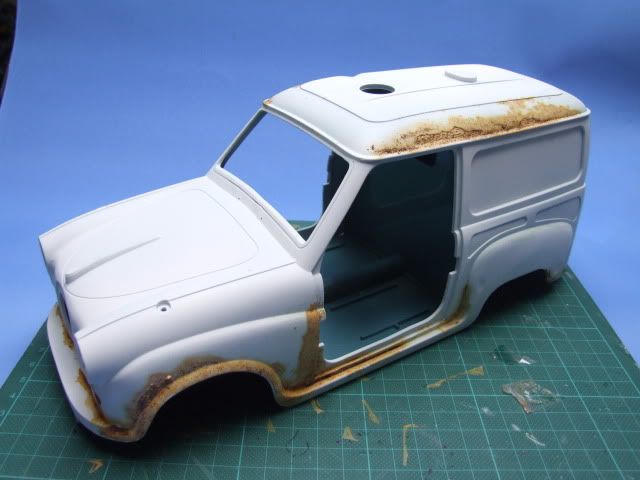
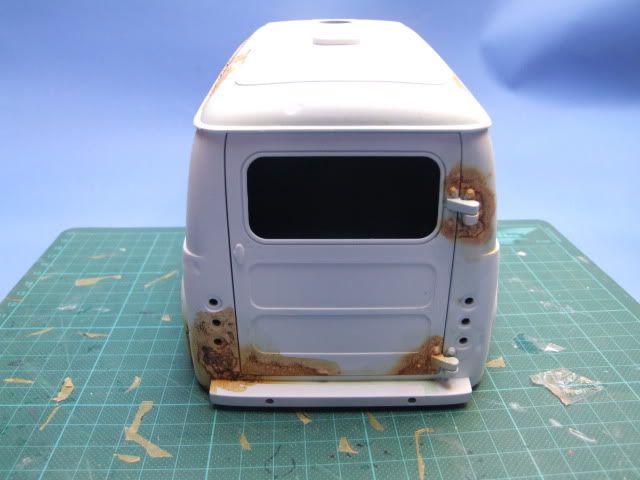
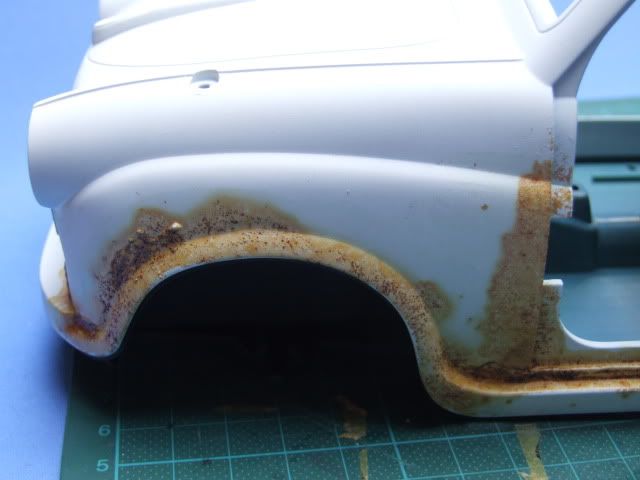
OK so a little progress, but one worthy of a little patience. I've used the two products shown below as a bit of an experiment. The one on the left I obtained some time ago from the US but you may recognise the one on the right which is available here in the UK. I used the "US" on on the Were Rabbit build.  First off, I'm sure some of you may have your own methods of achieving the same end result, but this works for me. Second, the difference between the two systems is purely that the "US" one has the "metal" premixed into a solution and the "UK" one you have to mix yourself. What I did differently was to apply the "metal" base BEFORE applying any paint. The premise was that rust come from below the paint layer, not on top of it. What I wasn't sure of was whether the ensuing reaction would work through the paint layer? One applied it soon dries so I then sprayed Halfords White Plastic Primer over the top. Once that had dried for a couple of days (not a conscious time span, just too busy to get back to it!) I applied a liberal coating of the activator to the areas where I had applied the metal base. Applying liberally means the liquid flows into the crevasses and ultimately shows up just as rust does. I let that react for about a week, again just because it took me that long to get back to it, and I was quite happy. BUT I decided on another liberal application and 24 hours later these are the results:       A little more tweaking and appropriate application and I'll ready for the top coat ;D Enjoy Rich |
|
|
|
Post by ptcruiser on Nov 15, 2012 22:23:25 GMT
see over in the 2013 builds
|
|